DCP-o-matic can also be used to create DCPs of one or more still images, perhaps for an advertisement or an on-screen announcement. This chapter shows you how to do it.
As with DCPs made from video files, the first step is to create a new ‘Film’; select New from the File menu and the new film dialogue will open as shown in Figure 4.1, “Dialogue box for creating a new film”.
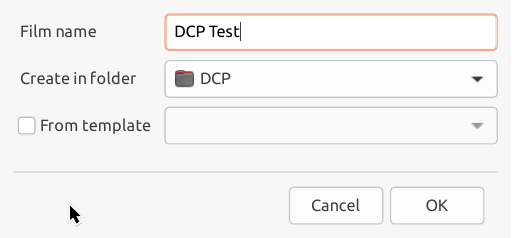
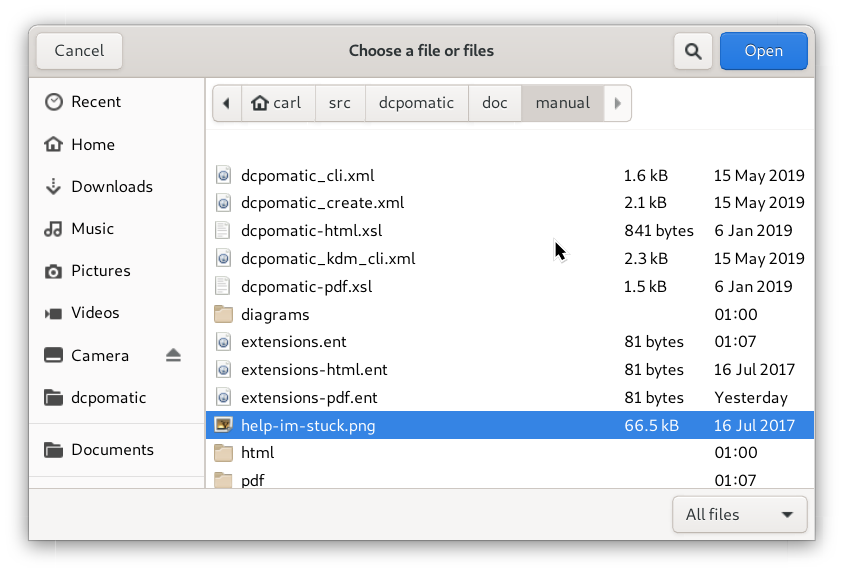
Enter a name and click OK. Now we need to add the content. As before, click Add file(s).... For our example, we will add a single image file, as shown in Figure 4.2, “Selecting a still content file”.
Most of the default settings will be fine for a simple test. The one thing that you might wish to change is the length of the still. Select the Timing tab and you will see a Full length setting, as shown in Figure 4.3, “The timing tab”.
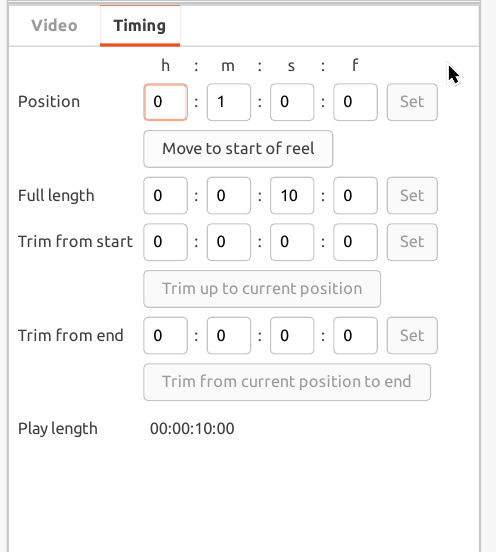
This length is a ‘timecode’: it consists of four numbers. The first is hours, the second minutes, the third seconds, and the fourth frames. Enter the duration that you want and then click Set.
Finally, as with video, you can choose Make DCP from the Jobs menu to create your DCP. This will be much quicker than creating a DCP from a video file, as DCP-o-matic only needs to encode a single frame which it can then repeat.